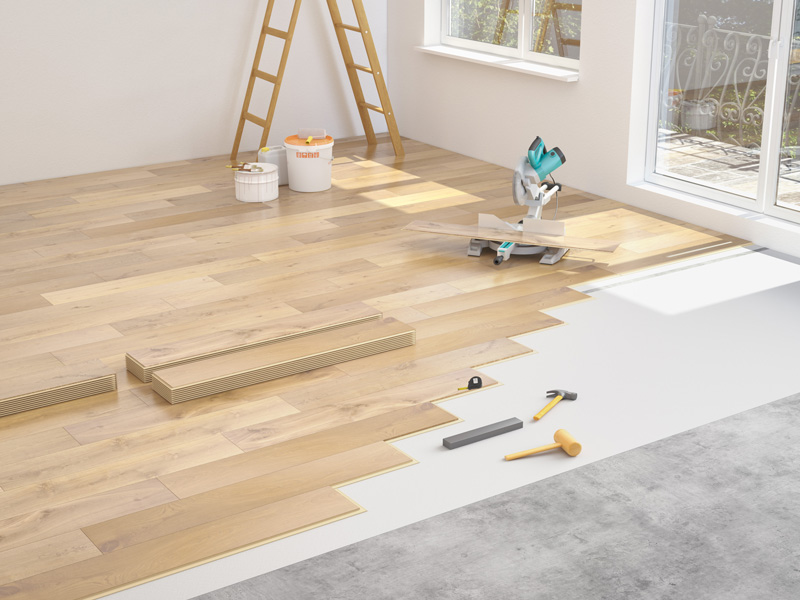
Laminate Flooring is becoming increasingly popular and may people wonder how to measure laminate flooring. This guide will provide you with all the necessary information about measuring laminate flooring.
How to Begin
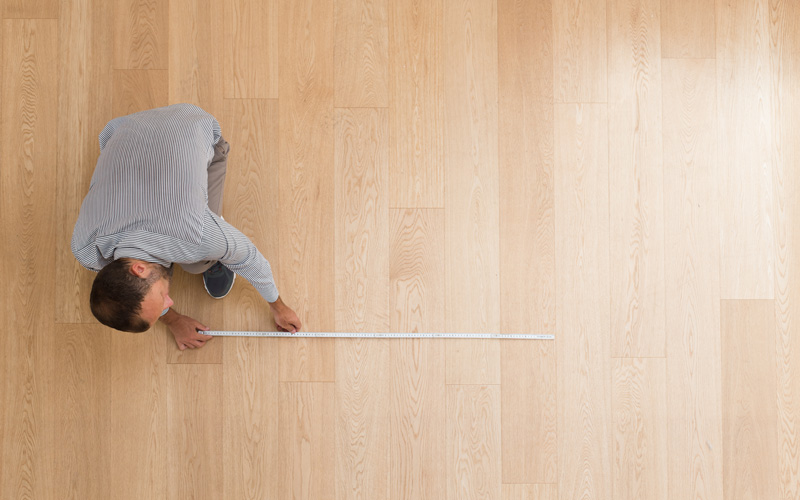
The first thing you need to do is find out how much laminate flooring you are going to need. To do this you will need to measure the width of your room and also the length of your room in feet. Write these numbers down then multiply them both together. This will then give you the size of your room in square feet. You will then need to add 10% for wastage.

For example:
A width of 5 metres x Length 4 of metres = 20sqms + 10% = 22sqm
As a result, you will need 22sqm of flooring.
Now you need to find out how many packs you require. If the laminate flooring you have chosen comes in packs of 1.5sqm then just divide you room size by this number.
Here is the calculation:
22sqm divided by 1.5sqm = 14.66 packs. Rounded up to the next pack means you will need 15 packs of flooring. You will also need to do this for the amount of underlay required.
What Else Will You Need?
If you are laying the laminate flooring over a concrete sub-floor, then you will also need to purchase a Damp Proof Membrane (DPM). Most leading brands now have underlay that includes a built in DPM. This is worth purchasing as it saves time and money.
Transition Profiles for Doorways
For doorways you will need one of the following transition profiles:
End Cap – This is used in doorways that meet carpet, ceramic or stone tiles. It can also be used to finish off the flooring against things like a sliding glass door.
Reducer – You use this when there is a difference in height between the laminate flooring and the floor covering you are meeting up with, like linoleum or vinyl.
T Moulding – This is needed in doorways where laminate meets laminate. Also, for any time a hard surface is within 1/8 inch. of being the same height as the laminate, you will can use a T moulding.
Finishing Around the Perimeter of the Room
With laminate flooring, you have to leave an expansion gap of around 10mm, anywhere the flooring meets a wall. There are two ways of hiding this expansion gap.
One way is to replace your skirting boards. This way, the new skirting fits over the expansion gap, and adds more cost and time to your project.
The second, cheaper and quicker way is to cover the expansion gap with beading/Scotia. This fits up against the skirting boards covering the expansion gap. Most brands offer beading that matches the colour of your laminate flooring.
To measure for this, simply measure all around the perimeter of you room, where you are going to need beading. You will again need to add 10% for wastage. Once you have this figure you will then need to divide it by the length of the beading, they usually come in lengths of 2.4 metres.
You will also need to purchase a fitting kit. This usually comprises of a tapping block, pull bar and spacers.
The Ultimate Checklist
Now that you know how to measure for laminate flooring, here is a measurement checklist you can print out to make it easier for you.
Flooring Required
Width ____metres x Length ____metres= ______sqm + 10% = _____sqm (A)
Divide (A) by pack size = _____ packs required.
Divide (A) by Underlay roll size = _____ Rolls of underlay required.
How many doorways
End Caps ____ Reducer____ T Moulding____
Beading
Perimeter _____metres + 10% = _____metres
Divided by beading length = ____ lengths beading required
We hope these tips will help you in your next laminate flooring project.


